Flagstone Chip Path Step by Step Installation
-
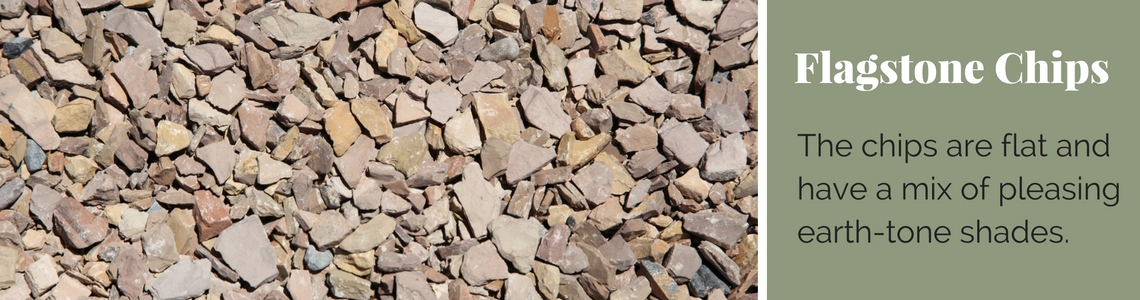
 Though the vast majority of the plants and materials used in the Conservation Garden Park are tried and true for Utah, we like to do a little experimenting with new ones from time to time. We take the risk so you don't have to! Recently, a new product has come to market that's the "gravel" version of our native Utah sandstone. However, instead of being rounded like traditional gravel, they're flat chips flaked from the sandstone.
The product can be purchased at a number of places in Utah and you can learn more about that at the manufacturer's website: Flagstonechips.com. In our case, we wanted to remove a stepping stone path that receives more foot traffic than anticipated and replace it with an easier-to-travel surface. We decided to try Flagstone Chips because we were intrigued by the product. In many parts of the country, paths are made with "Decomposed Granite" which is not readily available in Utah. Flagstone Chips are one of the products that can be used in place of Decomposed Granite here. -
-
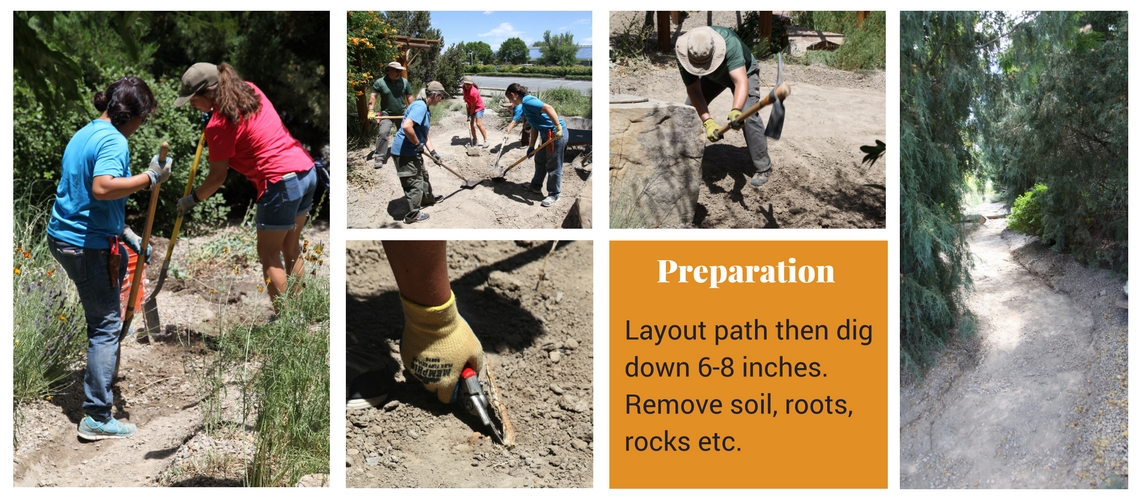
There are many factors to consider when planning for a path: How it will be used, the design and materials for the path, the style of your landscape and your budget. Will you be moving heavy things across it like garbage cans, lawnmowers, and wheel barrows? Once you have thought about how you want to use the path, then you can choose the hardscape material that will work best. The types of material that are available have different installation specifications, so make sure you do your research and know the depths of materials you will need so you can order the correct amounts.
In our case, the stepping stone path that had been in this area was simply inadequate to handle the traffic-- and not the safest public path either. It's still an optional pathway though so we didn't have to surface it with concrete or similar. The Flagstone Chips are a nice way to balance more frequent traffic with a simple, permeable pathway that most homeowners could self-install. Shall we begin?
-
-
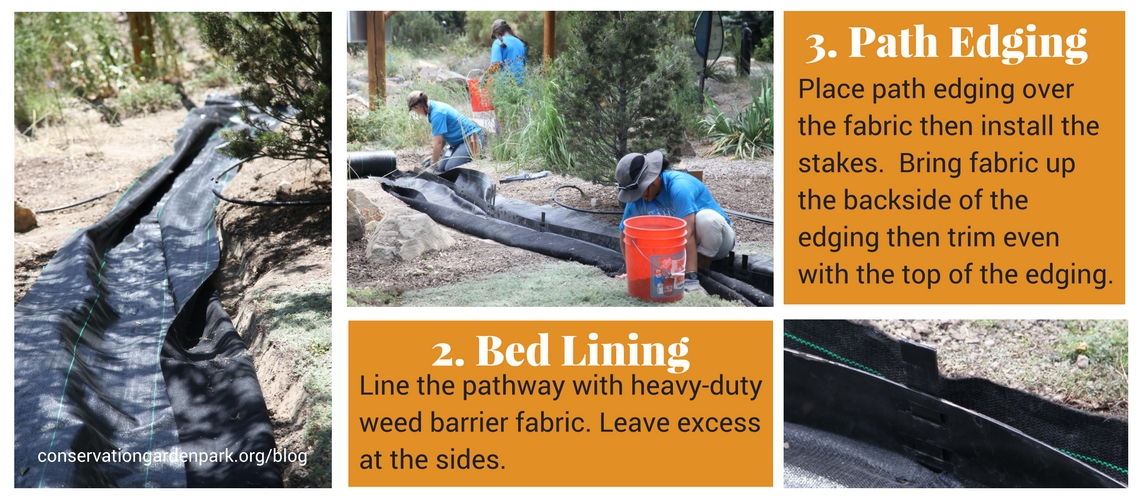
After you have completely dug out the path area and compacted the existing earth, you need to shore up the edges of the path and install the weed fabric. Paths are the appropriate place to use weed fabric. Put the weed fabric down before installing any edging. Edging stakes can help to hold the fabric in place and it gives a clean barrier for the material inside the path. In this location, the weed barrier fabric helps keep the path materials from sinking in and blending with the soil as time passes.
Your weed barrier fabric should be at least 1 foot wider than the path. Place it along the bed of the pathway with equal overlap on either side. As you install the edging (aluminum, steel or flexible recycled lumber), you'll lay it on top of the weed barrier fabric. Then pull the leftover material against the outside edge of the edging. Backfill the space behind the edging and fabric with soil then cut the fabric level or just below the top of the edging (see step 3 below.)
As you're installing the edging, keep it flush with the grade of the landscape. There may be areas where the edging needs to be brought up or where it needs to go deeper so that it meets up with the grade of the landscape in a way that looks nice and won’t cause a tripping hazard. You also have to pay attention to the width while you are installing the edging. Constantly check the width-- but don’t be too hard on yourself if it isn’t perfectly straight. Paths move when they are being dug out regardless of how careful you are.
Tip: Cut a couple of 2x6's to the desired width of your path then use them as spacers when installing the edging to keep the width and depth of the path consistent. It will save a lot of aggravation and measuring!
-
-
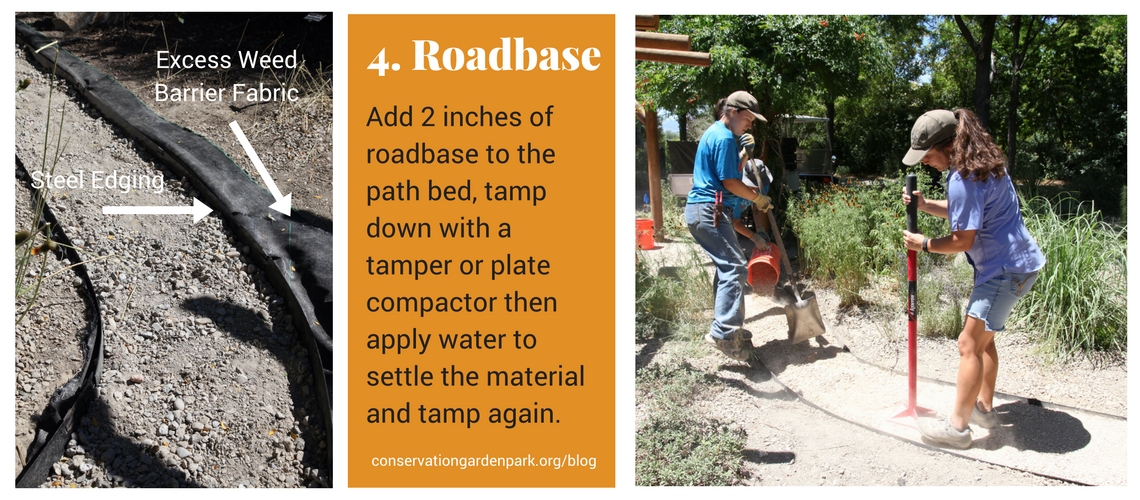
Once the weed fabric and edging are in place it’s time to lay down the base material. Road base (aggregate material) is a mix of small rock and fine rock dust particles that can pack together tightly to create a stable base. An added advantage is that road base is less expensive than flagstone chip and so using it as the base helps bring down the cost of the project. Apply the 4 inches of road base throughout the entire path.
Once that’s in place, use a hand tamper (as we did) or plate compactor to compact the material. A plate compactor can be rented from equipment rental stores and is the best thing to use for larger areas such as patios. For our purposes and for most paths, the hand tamper is fine.
Tamping is important to settle material and create a base that is sturdy and stable. Do not skip this step! -
-
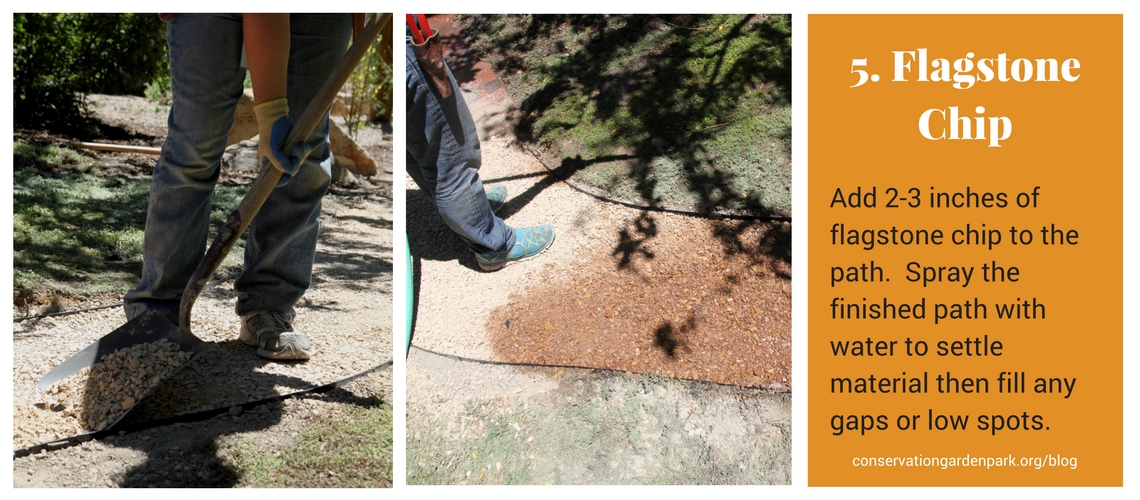
After all this prep work, it's finally time to apply the flagstone chip. We went with a layer that's 2 inches deep keeping in mind that the road base beneath is 3 inches so our total material depth is 5 inches. Just 2 inches of flagstone chip is all that's needed to cover the road base material!
Simply spread the material along the path, paying careful attention to the edges to ensure they're level with top of the path edging. You will not need to tamp the flagstone chip down. Tamping the flagstone chip will break the material down into smaller bits which is not desirable.
Instead of tamping, apply a fine spray of water to the path to soak the material. The water will carry smaller particles into the gaps and help settle the flagstone chip. Once dry, it forms a surface that is surprisingly solid yet allows for water to percolate through the path.
-
-
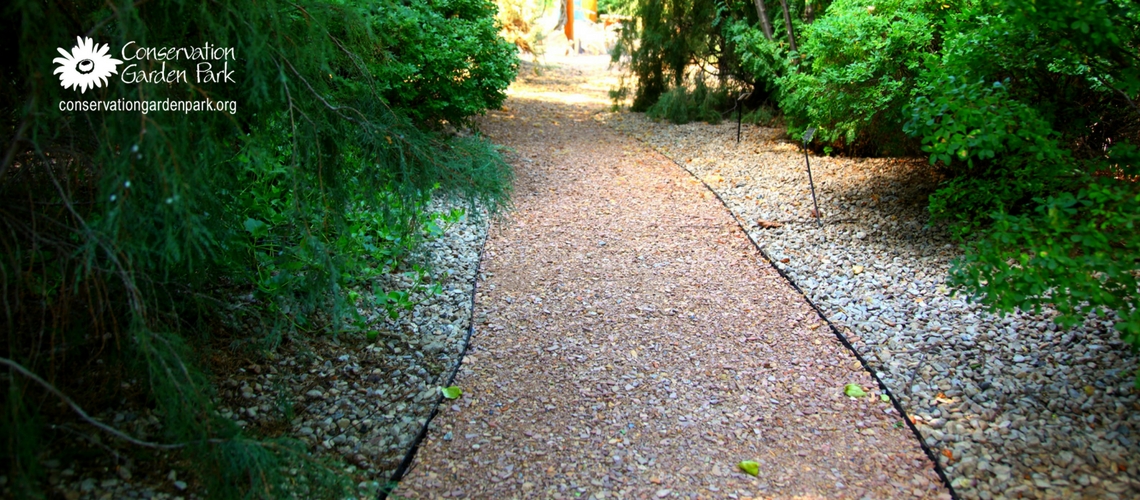
And that's it! We estimate this project could be completed in 1-2 weekends by most homeowners. As with most projects, the prep work requires the lion's share of time but being patient and doing ALL of the steps in the process will ensure that the finished result looks great and performs well for many years.
We invite you to come to the Conservation Garden Park in West Jordan, Utah to see this path and many others made of various materials. We're here to help you see the options available to homeowners for Utah-happy landscapes so you can make informed choices.
-
-